Areas Collection
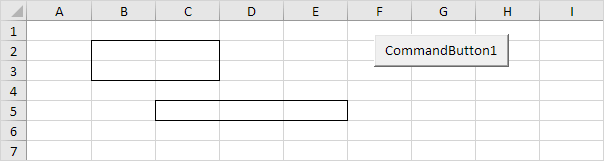
This example illustrates the Areas collection in Excel VBA. Below we have bordered Range(“B2:C3,C5:E5”). This range has two areas. The comma separates the two areas.
Place a command button on your worksheet and add the following code lines:
1. First, we declare two Range objects. We call the Range objects rangeToUse and singleArea.
Dim rangeToUse As Range, singleArea As Range
2. We initialize the Range object rangeToUse with Range(“B2:C3,C5:E5”)
Set rangeToUse = Range(“B2:C3,C5:E5”)
3. To count the number of areas of rangeToUse, add the following code line:
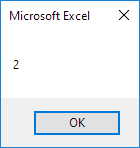
MsgBox rangeToUse.Areas.Count
Result:
4. You can refer to the different areas of rangeToUse by using the index values. The following code line counts the numbers of cells of the first area.
MsgBox rangeToUse.Areas(1).Count
Result:

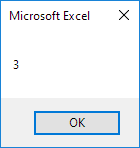
5. You can also loop through each area of rangeToUse and count the number of cells of each area. The macro below does the trick.
For Each singleArea In rangeToUse.Areas
MsgBox singleArea.Count
Next singleArea
Result:
Compare Ranges
We will look at a program in VBA that compares randomly selected ranges and highlights cells that are unique. If you are not familiar with areas yet, we highly recommend you to read this example first.
Situation:
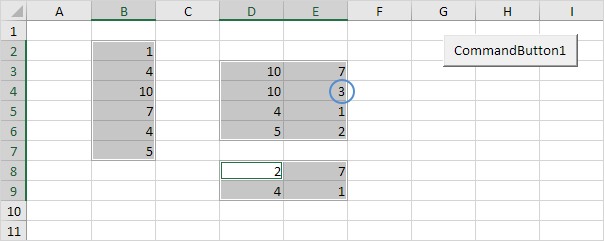
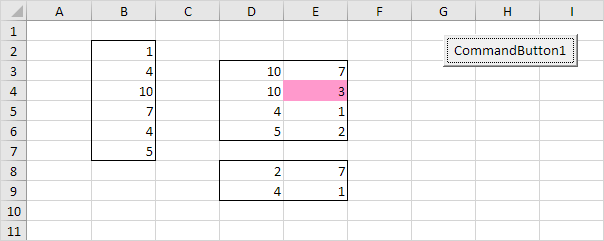
Note: the only unique value in this example is the 3 since all other values occur in at least one more area. To select Range(“B2:B7,D3:E6,D8:E9”), hold down Ctrl and select each area. Place a command button on your worksheet and add the following code lines:
1. First, we declare four Range objects and two variables of type Integer.
Dim rangeToUse As Range, singleArea As Range, cell1 As Range, cell2 As Range, i AsInteger, j As Integer
2. We initialize the Range object rangeToUse with the selected range.
Set rangeToUse = Selection
3. Add the line which changes the background color of all cells to ‘No Fill’. Also add the line which removes the borders of all cells.
Cells.Interior.ColorIndex = 0
Cells.Borders.LineStyle = xlNone
4. Inform the user when he or she only selects one area.
If Selection.Areas.Count <= 1 Then
MsgBox “Please select more than one area.”
Else
End If
The next code lines (at 5, 6 and 7) must be added between Else and End If.
5. Color the cells of the selected areas.
rangeToUse.Interior.ColorIndex = 38
6. Border each area.
For Each singleArea In rangeToUse.Areas
singleArea.BorderAround ColorIndex:=1, Weight:=xlThin
Next singleArea
7. The rest of this program looks as follows.
For i = 1 To rangeToUse.Areas.Count
For j = i + 1 To rangeToUse.Areas.Count
For Each cell1 In rangeToUse.Areas(i)
For Each cell2 In rangeToUse.Areas(j)
If cell1.Value = cell2.Value Then
cell1.Interior.ColorIndex = 0
cell2.Interior.ColorIndex = 0
End If
Next cell2
Next cell1
Next j
Next i
This may look a bit overwhelming, but it’s not that difficult. rangeToUse.Areas.Count equals 3, so the first two code lines reduce to For i = 1 to 3 and For j = i + 1 to 3. For i = 1, j = 2, Excel VBA compares all values of the first area with all values of the second area. For i = 1, j = 3, Excel VBA compares all values of the first area with all values of the third area. For i = 2, j = 3, Excel VBA compares all values of the second area with all values of the third area. If values are the same, it sets the background color of both cells to ‘No Fill’, because they are not unique.
Result when you click the command button on the sheet: